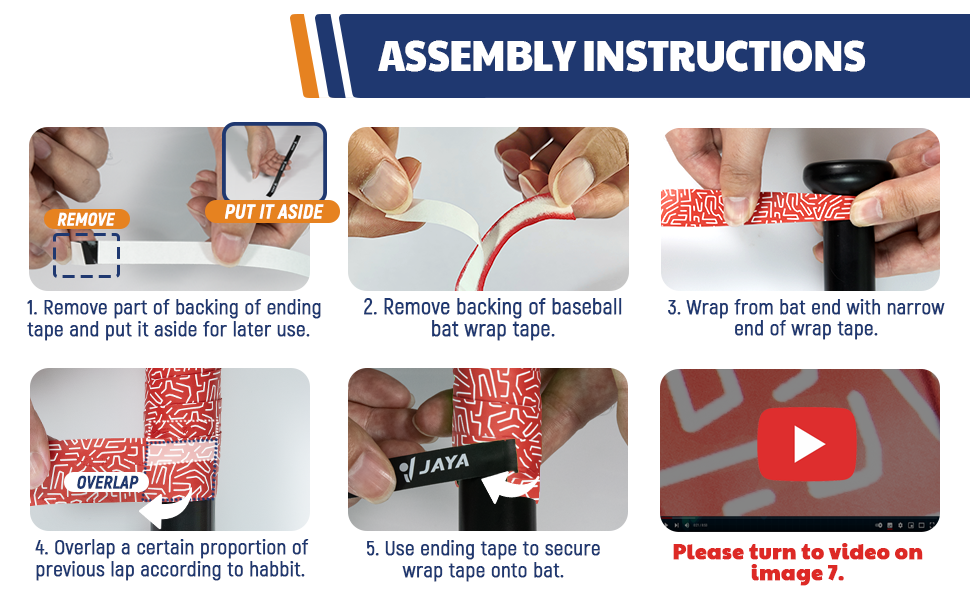
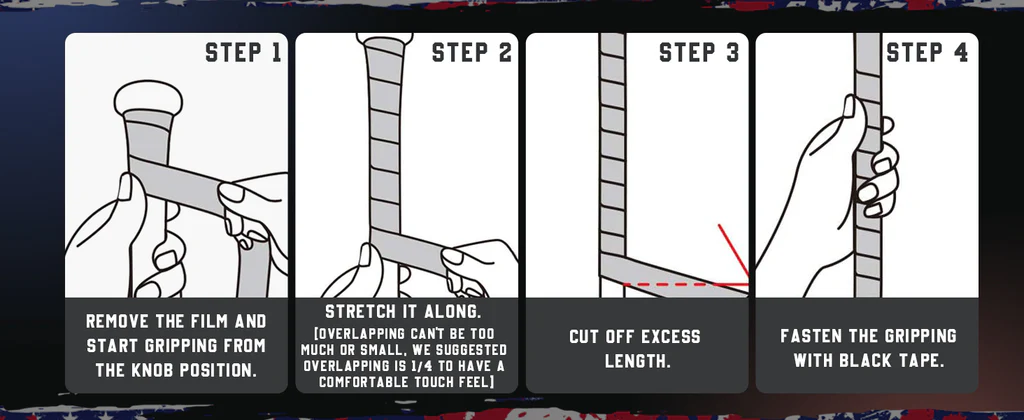
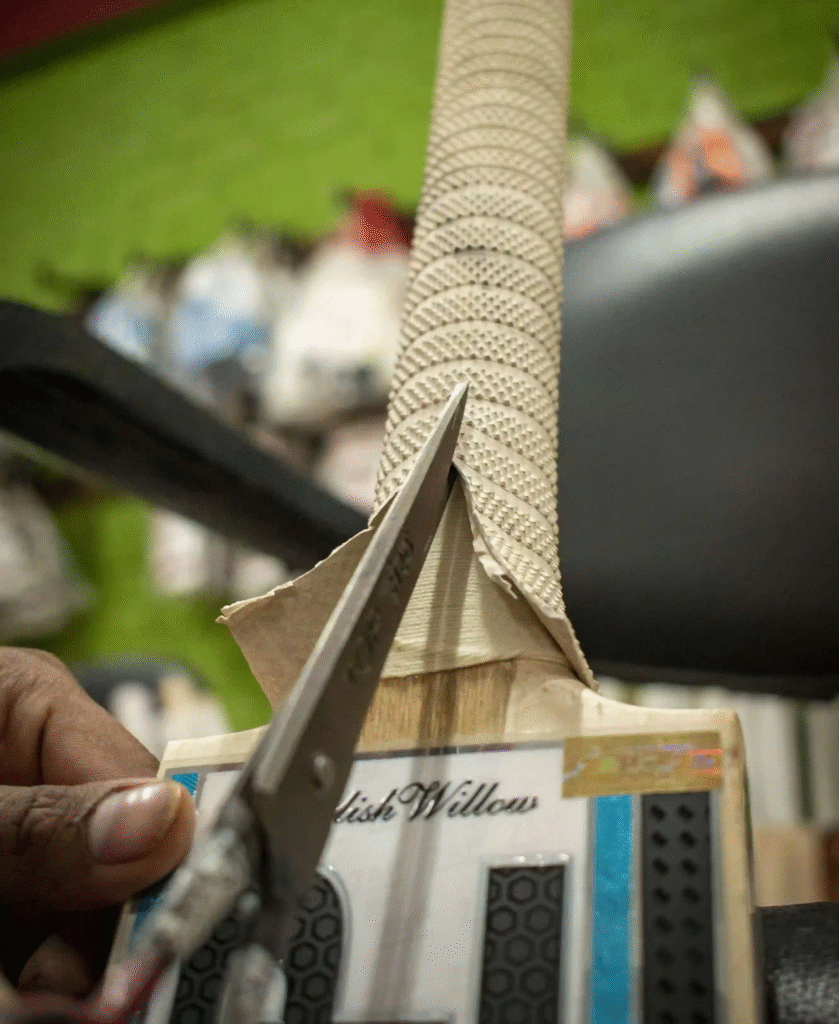
Why Cricket Bat Handle Tape Removal Matters
Over time, every cricketer needs to change their bat grip or remove old tape for better control and comfort. But removing old adhesive or grip tape can be frustrating and, if done wrong, can damage the wooden handle of your bat. That’s why learning proper cricket bat handle tape removal techniques is essential for maintaining your bat’s performance and longevity.
This comprehensive guide will cover:
- How to remove old grip tape
- Safe scraping and adhesive removal tools
- The best solvents for tape adhesive
- DIY and homemade solutions
- Handle cleaning and post-care methods
How to Remove Old Cricket Bat Grip Tape
Removing old grip tape is the first step toward either replacing it or restoring the bat handle.
Required Tools:
- A plastic scraper or dull blade
- Hair dryer or hot towel
- Alcohol-based solvent (optional)
Step-by-Step:
- Loosen the edge of the grip or tape using your fingernail or a blunt knife.
- Apply mild heat using a hair dryer or a warm towel to soften the adhesive.
- Peel gently — don’t rush. A slow, steady pull prevents residue.
- If there’s leftover adhesive, follow the next sections to remove it safely.
Best Solvents to Remove Cricket Bat Adhesive
The right solvent makes a huge difference, especially when dealing with stubborn adhesive. Choose those that are gentle on wood but effective on glue.
| Solvent | Safe for Wood | Effectiveness | Notes |
|---|---|---|---|
| Rubbing Alcohol | Yes | Moderate | Widely available and quick-drying |
| WD-40 | Yes | High | Great for breaking adhesive bonds |
| Mineral Spirits | Caution | High | Test on small area first |
| Acetone/Nail Polish Remover | No | High | Can damage wood finish |
Tip: Always test the solvent on a small, hidden section before full application.
Best Scraping Tools for Cricket Bat Tape Removal
You don’t need anything fancy. Use tools that won’t scratch or gouge the bat’s handle.
Safe Tools:
- Plastic Putty Knife – Flexible and won’t damage wood
- Old Credit Card – Excellent makeshift scraper
- Wooden Spoon Edge – Gentle yet effective
Avoid using metal blades, which can dent or scar the wood.
Cricket Bat Tape Removal Without Damaging Wood
Here’s how to ensure your bat’s wooden surface stays intact during removal:
- Use soft heat (hair dryer) to loosen glue
- Don’t force the tape; patience is key
- Use gentle solvents and non-abrasive tools
- Avoid soaking the wood, which can warp the handle
Your goal should be complete adhesive removal with zero scratching or wood loss.
Homemade Adhesive Remover for Cricket Bats
Looking for a DIY alternative to store-bought solvents? Try this homemade mixture:
DIY Solution Recipe:
- 2 tbsp baking soda
- 1 tbsp coconut oil or olive oil
- 1 tsp lemon juice (natural acid)
Mix into a paste and apply it to the sticky surface. Let it sit for 10–15 minutes before gently scrubbing with a soft cloth or plastic scraper.
Using WD-40 or Rubbing Alcohol for Grip Tape Removal
These two household items work wonders if used correctly.
WD-40:
- Spray lightly on adhesive
- Let it sit for 3–5 minutes
- Wipe clean with a cloth
Rubbing Alcohol:
- Apply with cotton or soft cloth
- Effective on minor residue
- Quick to dry, no need to rinse
Caution: Use both in a well-ventilated area and avoid contact with bat face or stickers.
How to Sand the Bat Handle After Tape Removal
If some tackiness or roughness remains, sanding is a safe finishing touch.
Sanding Tips:
- Use fine-grit sandpaper (1000–1500)
- Light, circular motion
- Do not sand aggressively
- Finish by wiping down with a dry microfiber cloth
Removing Tape Residue: Composite vs Wooden Handles
The type of bat handle can affect how easily adhesive is removed.
| Handle Type | Difficulty Level | Recommended Method |
|---|---|---|
| Composite | Moderate | Alcohol or WD-40 with scraping |
| Wooden | Higher Risk | Use soft heat + DIY solvent |
Wood handles are more delicate and require gentler handling.
Cleaning Tips After Tape Removal
Once the tape and residue are gone, don’t forget to clean and protect your bat handle.
Post-Cleaning Care:
- Wipe the area with a dry, clean cloth
- Apply lemon oil or linseed oil sparingly for moisture
- Let the handle air-dry for 12–24 hours before re-gripping
Avoid wrapping new grip over sticky or damp surface — it shortens grip life.
Rehabbing a Wooden Cricket Bat After Removing Tape
For wooden handles especially, a little rehab can help prolong life:
- Inspect for cracks or dents
- Apply a light coat of bat oil to seal surface
- Avoid over-oiling
- Let rest for 1–2 days before use
This is especially important if you’re prepping your bat for a new season.
FAQs About Cricket Bat Handle Tape Removal
Q1. Can I remove cricket bat tape without using any solvent?
Ans. Yes, if the tape is not too old or sticky, you can use a hair dryer and a plastic scraper alone to remove it safely.
Q2. Is WD-40 safe for cricket bats?
Ans. Yes, WD-40 is generally safe for wooden bat handles, but it should be used sparingly and kept away from the blade and stickers.
Q3. What’s the easiest way to remove adhesive residue from bat handles?
Ans. Rubbing alcohol or a homemade mix of baking soda, coconut oil, and lemon juice works well for most light to moderate residue.
Q4. Should I oil the bat handle after removing tape?
Ans. Yes, lightly oiling with linseed or lemon oil helps maintain wood condition and prepares the handle for a fresh grip.
Q5. How often should I replace the bat grip and remove the old tape?
Ans. It depends on usage, but typically every 3–6 months is ideal for regular players.
Also You Read:
- How to Choose the Right Cricket Bat for Your Game
- Best Bat Grips for Comfort and Control
- Top DIY Bat Maintenance Tips Every Player Should Know
- ICC Cricket Equipment Guidelines
- WD-40 Official Website
Call to Action (CTA):
Have you ever used WD-40 or rubbing alcohol on your cricket bat? Share your experience with us in the comments below!
And for more expert cricket gear care tips and DIY maintenance guides, don’t forget to follow Cricket Class!
Conclusion:
Tape Removal from your cricket bat handle doesn’t have to be messy or risky. With the right tools, safe solvents, and careful technique, you can restore your bat’s grip area to near-new condition. Whether you’re preparing for a re-grip or simply restoring an old bat, following this detailed guide ensures maximum care and performance.
Ready to restore your bat? Let us know your experience or questions in the comments below!
Sweet web site, super design, very clean and employ genial.
Can you be more specific about the content of your article? After reading it, I still have some doubts. Hope you can help me.
Thanks for sharing. I read many of your blog posts, cool, your blog is very good.
Your article helped me a lot, is there any more related content? Thanks!
Aw, this was a really nice post. In concept I want to put in writing like this moreover – taking time and actual effort to make a very good article… however what can I say… I procrastinate alot and under no circumstances appear to get something done.
Thank you for your sharing. I am worried that I lack creative ideas. It is your article that makes me full of hope. Thank you. But, I have a question, can you help me?
Hello lads!
I came across a 158 helpful tool that I think you should explore.
This resource is packed with a lot of useful information that you might find insightful.
It has everything you could possibly need, so be sure to give it a visit!
[url=https://weeklyadsoffer.com/glamping-vs-camping-whats-the-difference/]https://weeklyadsoffer.com/glamping-vs-camping-whats-the-difference/[/url]
Furthermore remember not to neglect, folks, — you at all times may within the article locate answers for the most the absolute confusing queries. The authors made an effort — present all content in an extremely understandable way.